Documentation Menu
Generating Posts
Once you have your API keys configured and your Topics backlog ready (or even if you don't), you can start generating high-quality posts. Diogen AI gives you the power to create SEO-optimized content in a single click.
1. The Dashboard Generator
For immediate, manual content creation, use the main Dashboard. Navigate to Diogen AI > Dashboard from your WordPress admin.
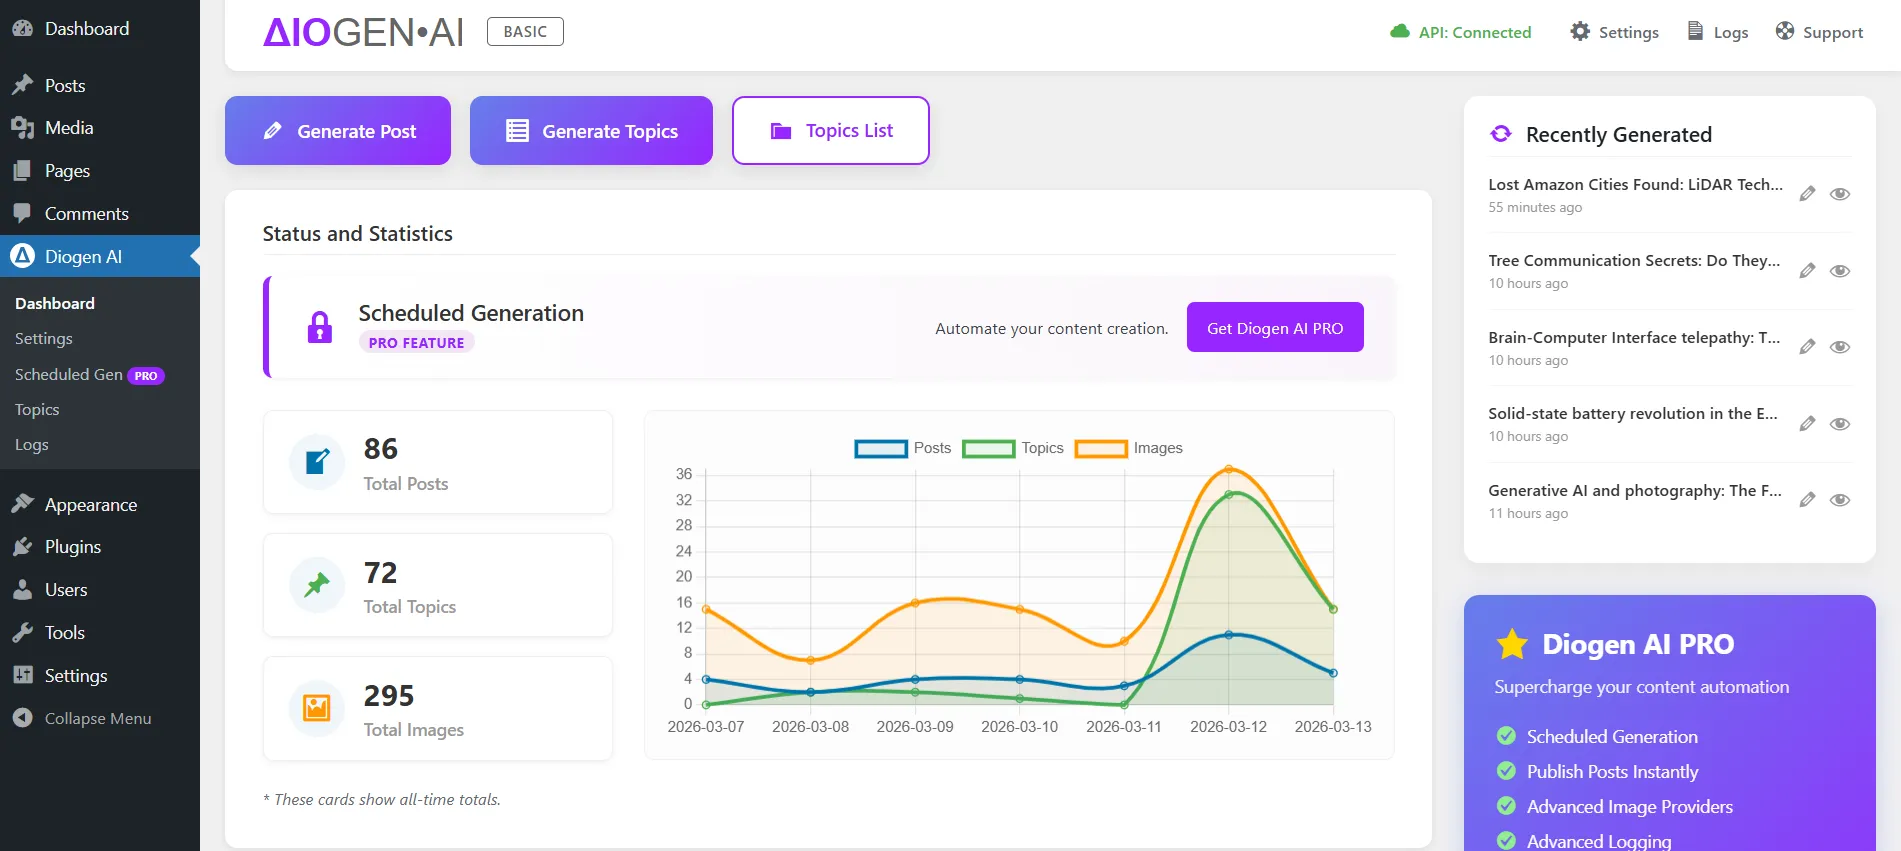
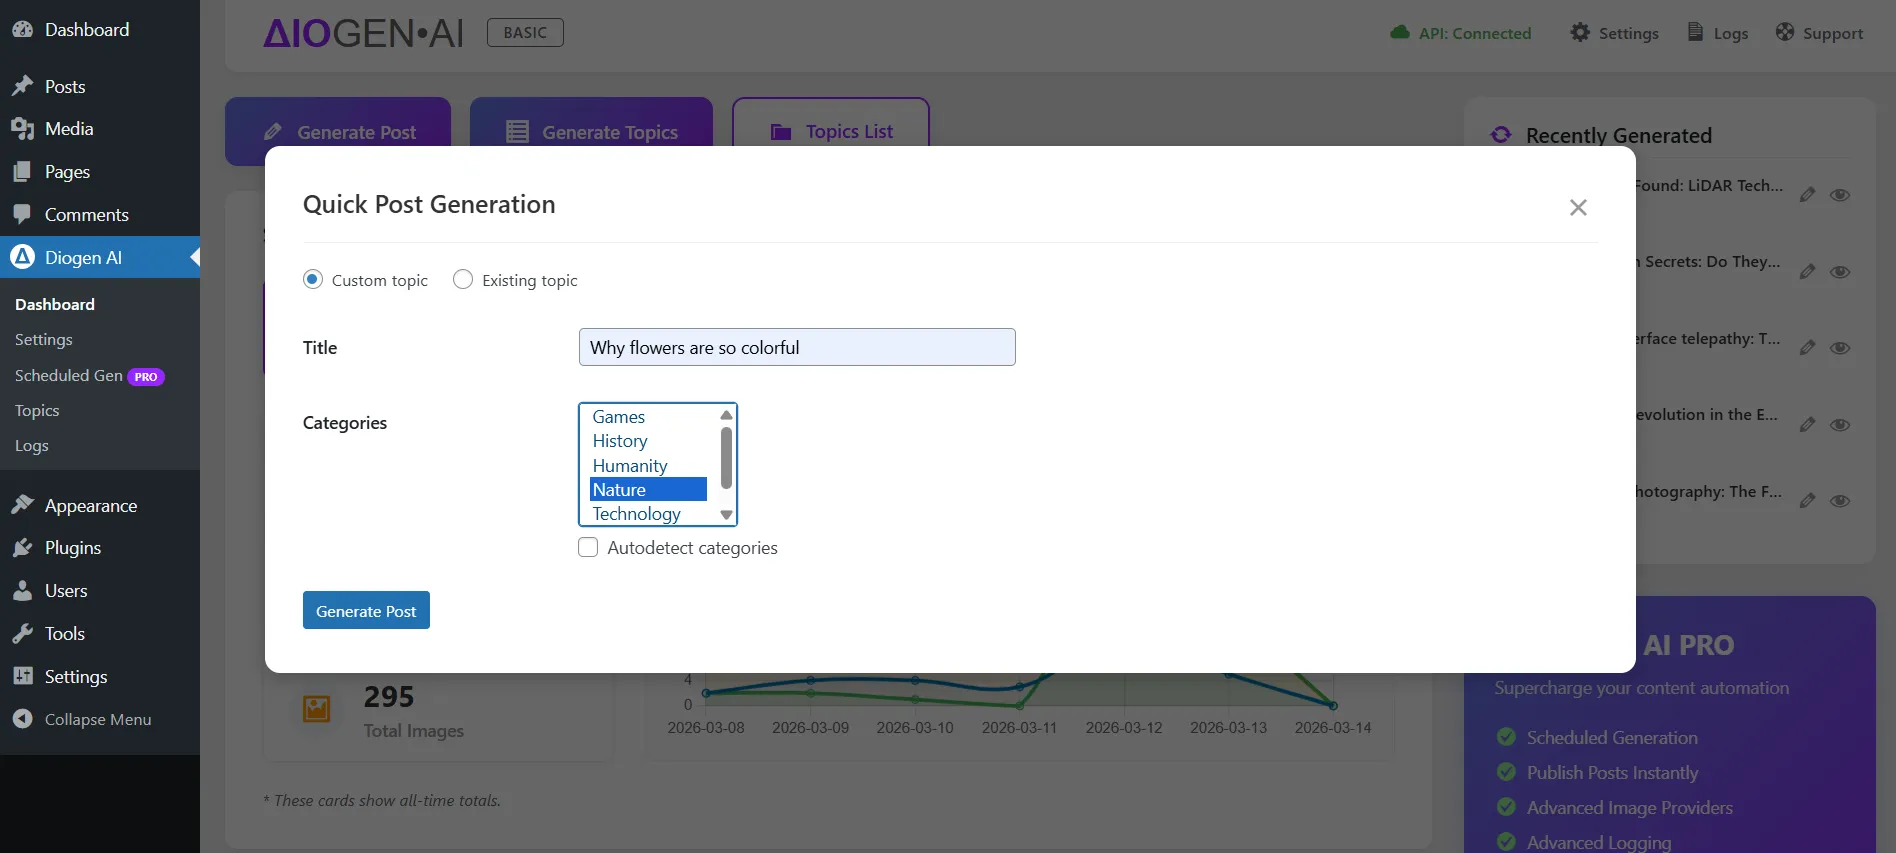
2. Generating a Post (Step-by-Step)
- On the Dashboard, find the Generate Post button.
- Enter your target Topic title
- Select the WordPress Categories where the post will be published.
- Click Generate Now.
Content length, quantity of images, and other options are determined in the plugin settings. The generation process typically takes between 30 and 90 seconds, depending on settings.
Note on Images: The Free version of Diogen AI uses basic models (like DALL-E) for images. For photorealistic or customized artistic styles, check out the Pro Premium Image integrations.
3. Gutenberg & Block Compatibility
One of the key advantages of Diogen AI is that it doesn't just output raw HTML. Instead, it composes posts using native WordPress Gutenberg blocks.
- Perfect Theme Matching: Your generated posts will look like they were written by hand, perfectly inheriting your theme's styles for headings, paragraphs, and images.
- Easy Editing: Since the content is block-based, you can use the standard WordPress editor to easily rearrange, edit, or swap out blocks after generation.
4. Generating from the Topics List
Instead of manually typing topics into the Dashboard, you can quickly generate content directly from your topics backlog.
- Go to Diogen AI > Topics.
- In the Topics List, find an idea you like.
- Click the Generate button next to that specific topic.
- The plugin will immediately begin writing a high-quality post based on that exact title, automatically applying the settings configured in the main Diogen AI Settings page.